
Hanover weather can turn fast. A quick line of thunderstorms, a wind event, or a sudden freeze-thaw can turn a roof problem from a nuisance into an active leak; what you do in the first hours matters. Acting safely and methodically can limit water intrusion, protect roof decking and insulation, and make the permanent repair more straightforward. This guide walks through concrete steps, from stabilizing drips and setting a tarp to documenting shingle and flashing damage and deciding whether a patch, partial repair, or larger section replacement makes the most sense after the immediate crisis passes.
Stabilize Leaks in the First Hour Without Climbing a Slick Roof
If you are searching for Hanover emergency roof repairs while rain is still falling, start inside. Move furniture and rugs, put buckets or plastic totes under active drips, and pierce bulging ceiling paint with a screwdriver to relieve pooling water before drywall seams split. From the attic hatch, use a flashlight to trace drips back to common entry points such as a plumbing vent boot, chimney step flashing, or a valley. Lay plastic sheeting over wet batts and place a tray at the low point. Avoid stepping on drywall between joists and do not climb a wet or icy roof.
Shut off power to any ceiling light or fan below a leak at the breaker if the fixture or junction box shows moisture. Note whether water is tracking along rafters or the underside of OSB or plywood sheathing, which suggests underlayment failure or wind-driven rain at a ridge vent. If wind is strong, leaks near a gable can come from lifted shingle tabs or missing ridge cap shingles. Stabilizing from inside buys time until conditions are safe for inspection and temporary weatherproofing.
Tarping and Temporary Weatherproofing That Actually Works
When the roof is safe to access, choose a reinforced poly tarp rather than a thin 3-mil sheet. Start at or above the leak source and run the tarp downhill so water sheds over, not under, the cover. Extend coverage at least 3 feet past all sides of the damaged area. Secure edges with 2×4 battens screwed into rafters or through the sheathing into framing, not just into loose shingles. Cap nails can help along edges, but avoid short roofing nails that can pull out. Do not block a ridge vent with a tarp edge that forces water under the cap.
Smaller punctures from hail or a limb can be temporarily sealed with plastic roof cement and a shingle patch, pressing into the nailing zone and covering exposed fasteners with butyl or cement. Common mistakes include laying a tarp sideways so wind gets under it, weighing it with bricks that slide, or puncturing the tarp with too many fasteners. The trade-off is speed versus durability: a fast, well-oriented tarp is better than a rushed, leaky patch, but a correctly battened cover often survives the next storm while you arrange permanent repairs. Professional tarping standards, as outlined by SERVPRO, confirm that coverage should extend at least three feet on every side and reach the ridge where possible.
Document Damage for Insurance Without Missing Hidden Clues
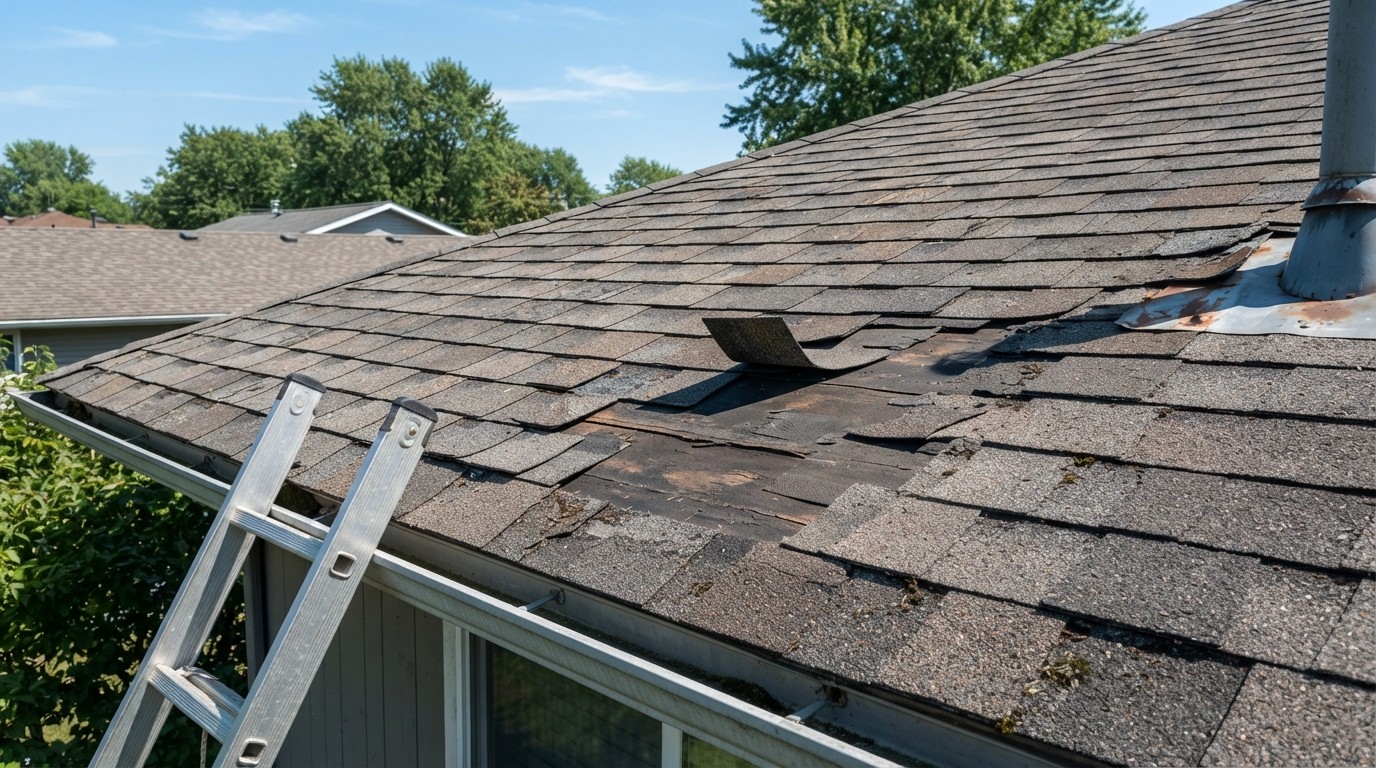
Before cleanup, take wide shots of the house, then close-ups of missing shingles, creased or lifted tabs, and exposed underlayment. Photograph hail bruising where granules have been crushed into the mat, dents in ridge caps, and pockmarks on soft metals like ridge vents and gutter aprons. Inside, capture water stains on rafters, wet insulation, and any ceiling sag. Check valleys and chimney counterflashing for gaps, and skylight curbs for cracked seals or crazed domes. Granule piles in gutters or at downspout discharge are useful evidence of impact damage.
Keep receipts for tarps, cap nails, and roof cement. If soaked drywall is unstable, document it thoroughly before removal, then bag and save a labeled piece. Note leak dates and approximate times, and whether the wind direction lined up with a gable or ridge. These details help an adjuster understand why water reached the sheathing despite intact shingles, such as wind-driven rain or flashing failure at a sidewall. A simple log plus clear photos can speed approvals for repairs that go beyond a superficial patch. For a broader first-response plan, our guide to what to do right after your roof suffers storm damage walks through each step.
Decide Between Patch, Partial Repair, or Section Replacement
After the roof is dry, assess whether a localized patch will perform or if adjacent shingles and underlayment have been compromised. Older, brittle 3-tab shingles often crack when lifted to slide in a replacement, expanding the repair area. Architectural shingles are more forgiving but can still tear if the seal strips have not re-bonded solidly. If a manufacturer color or profile is discontinued, a small patch may be visually obvious, which can matter on a front slope. Damage clustered near a valley or along a ridge often warrants a larger, uniform section repair to restore wind uplift resistance and consistent nailing in the shingle’s reinforced zone.
Flashing determines scope, too. Chimney step flashing can sometimes be reused if it’s sound, but replace pitted or paint-sealed counterflashing to reset the waterproof lap. Replace rubber vent boots that have cracked at the collar with higher-grade or lead options. At the eaves, replacing the ice and water shield along with the drip edge is smart if water backs up under the first course. If the deck shows swelling or soft spots, plan to replace affected OSB or plywood sheets rather than face nails that no longer hold ring shank fasteners well. A slightly larger repair now is often cheaper than chasing leaks through the next season.
Drying Out and Monitoring After the Storm
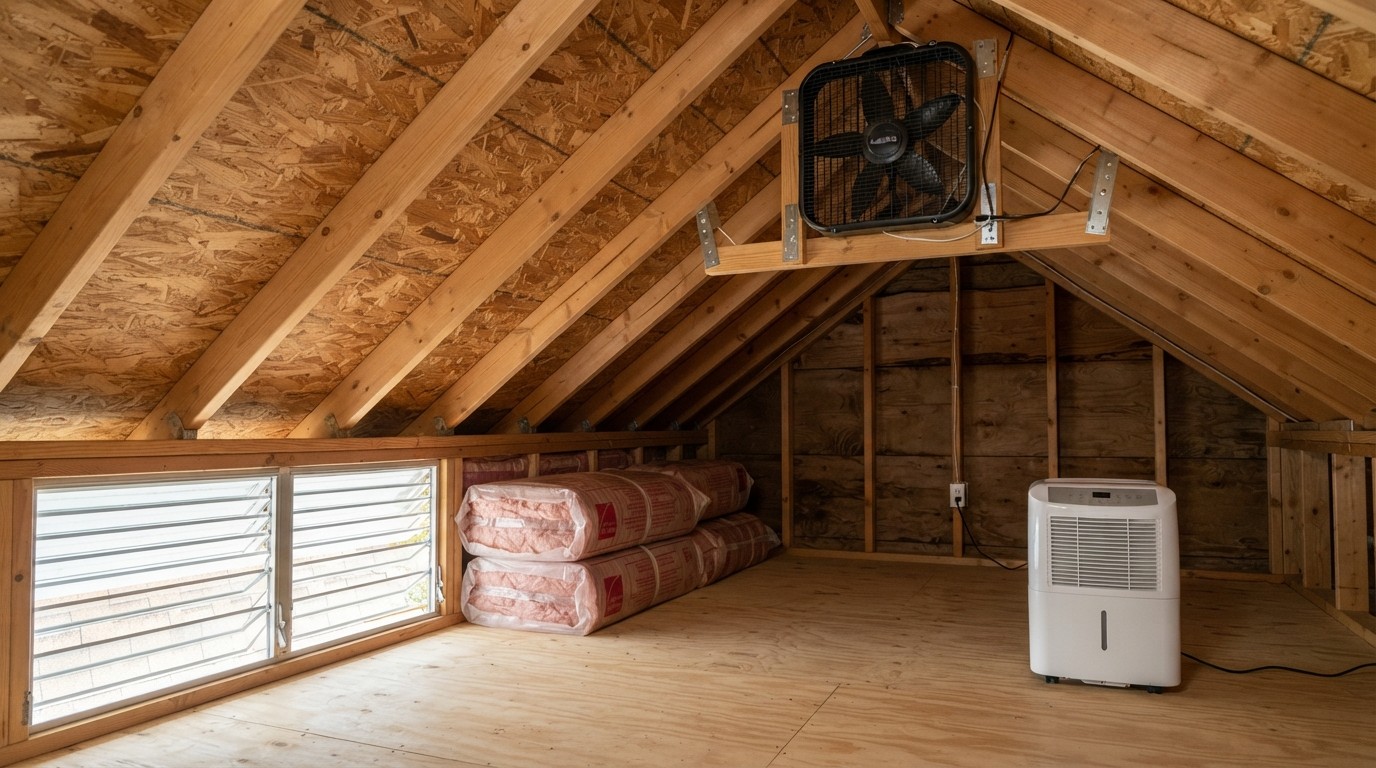
Even after the roof is watertight, the building still needs attention. Pull back or remove wet fiberglass batts to dry the underside of sheathing with box fans and a dehumidifier. Replace insulation that clumps or smells musty. Inside rooms, watch for screw pops and stains that spread downward, signs that drywall cores stayed wet. Clear gutters of shingle granules and leaves so the next rain doesn’t overflow at the eaves and re-wet exposed sheathing. During the next steady shower, recheck the attic with a flashlight for new drips, especially near valleys, ridge vents, and vent stacks.
Longer term, reduce the chance of repeat winter leaks by improving attic ventilation and air sealing. Verify that soffit vents are open, install baffles to keep insulation from blocking intake, and make sure a ridge vent is continuous and properly capped. Seal warm air leaks around bath fans and can lights to limit ice dams that can drive water behind shingles. When permanent repairs occur, ask that ice and water shields be used at eaves and valleys and that step flashing be reset correctly into the sidewall, not face sealed with caulk alone.
Storm damage feels urgent because it is, but a clear plan keeps small openings from becoming structural problems. Stabilize leaks without risking a fall, document shingle, flashing, and sheathing issues thoroughly, and use a correctly secured tarp to bridge the gap to permanent work. Then choose a repair scope based on shingle age, the location of damage, and the condition of underlayment and flashing, not just on the smallest visible hole. Finally, dry the building completely and tweak ventilation and drainage. Those steps turn an emergency in Hanover into a durable fix you do not have to revisit next season.

