
Every creator has a clip that ends too soon. The shot looks perfect, but it stops two seconds before the beat drops. Until recently, you had three main options: slow it down, loop it, or freeze the last frame. Unfortunately, each trick tends to look obvious on screen.
Today, AI offers a smarter fix. Instead of stretching old frames, an AI video extender generates new footage that continues the scene. As a result, a shot that felt too short can finally fit your edit.
This hands-on guide shows you how to make short clips longer with AI. First, you’ll see how the technology works and which tools belong in your kit. Then you’ll follow a five-step workflow you can repeat on any project.
How AI Video Extension Actually Works
An AI video extender studies the final frames of your clip. Specifically, it reads the subject, the direction of motion, the lighting, and the camera path. Then it predicts what should happen next and creates fresh frames to match.
This approach differs from slow motion in one important way. Slow motion stretches the frames you already have, so the action never goes beyond the original moment. Frame interpolation smooths that stretch, but the story still ends in the same place.
In contrast, generative extension adds new seconds of action. A wave keeps rolling, a car keeps driving, and a product keeps turning.
So where does this help most? Product reveals gain time for a logo or headline. Travel clips can linger long enough to set the mood. Likewise, intros and outros get breathing room for captions, music, or a call to action.
However, the technology still has limits. It performs best with steady shots, simple motion, and clean backgrounds. On the other hand, fast action, crowds, hands, and readable text often trip it up.
Recommended Tools for Extending Short Clips
You don’t need a studio setup for this workflow. In fact, a small, focused toolkit covers almost every job.
- A dedicated AI extender. This tool does the heavy lifting. One solid option is CapCut ai video extender, which adds footage that continues your clip. It runs in the browser and aims to keep the motion, subject, and atmosphere consistent. Its features also target pacing, rhythm, and transition timing, which helps when you cut to music.
- Your editor’s speed controls. A gentle slowdown still works when you only need a fraction of a second. Similarly, frame blending or optical flow keeps that slowdown smooth.
- An AI upscaler. Generated footage sometimes looks softer than the original. Therefore, a quick upscale helps the new seconds match your source detail, as explained in this guide on improving video quality with AI tools.
- Basic color and audio tools. A light grade and a bed of ambient sound hide small differences at the join.
Whichever tool you choose, run a few test clips first. Then check its limits on duration, resolution, watermarks, and commercial use before you publish.
Hands-On Walkthrough: Extend a Short Clip With AI in Five Steps
Grab a short clip and follow along. The same process works for B-roll, product shots, travel footage, and social intros. You only need the clip, an extender, and your usual editing app.
Step 1: Choose a Clip the AI Can Read
Your source clip decides most of the result. Ideally, pick footage with a clear subject, steady lighting, and visible but simple movement. Clean backgrounds help too.
Next, check the final frames closely. The AI builds from those last frames, so blur or a half-turned face can derail it. Trim any messy frames away before you upload.
Step 2: Upload the Clip and Define the Extra Seconds
Open your extender and upload the trimmed clip. If the tool asks for an image instead, export a sharp final frame and upload that.
Then decide what the new seconds must do. For instance, they might finish a product reveal, continue a walk, or leave room for a caption. A clear purpose keeps the extension from feeling like empty filler. Also, pick a target length that lines up with your music or voiceover.
Step 3: Write a Prompt That Continues the Action
Describe the next moment, not a brand-new scene. Name the subject, the movement, and the light you want to keep. Plain, specific words usually work better than long, poetic descriptions. Here’s a simple example:
“Keep the woman in the red coat centered. Continue her slow walk toward the camera for four seconds. Maintain the soft evening light.”
Avoid asking for new characters, new locations, or dramatic camera moves. Big changes force the AI to invent too much, and the seam becomes obvious.
Step 4: Check the Seam Frame by Frame
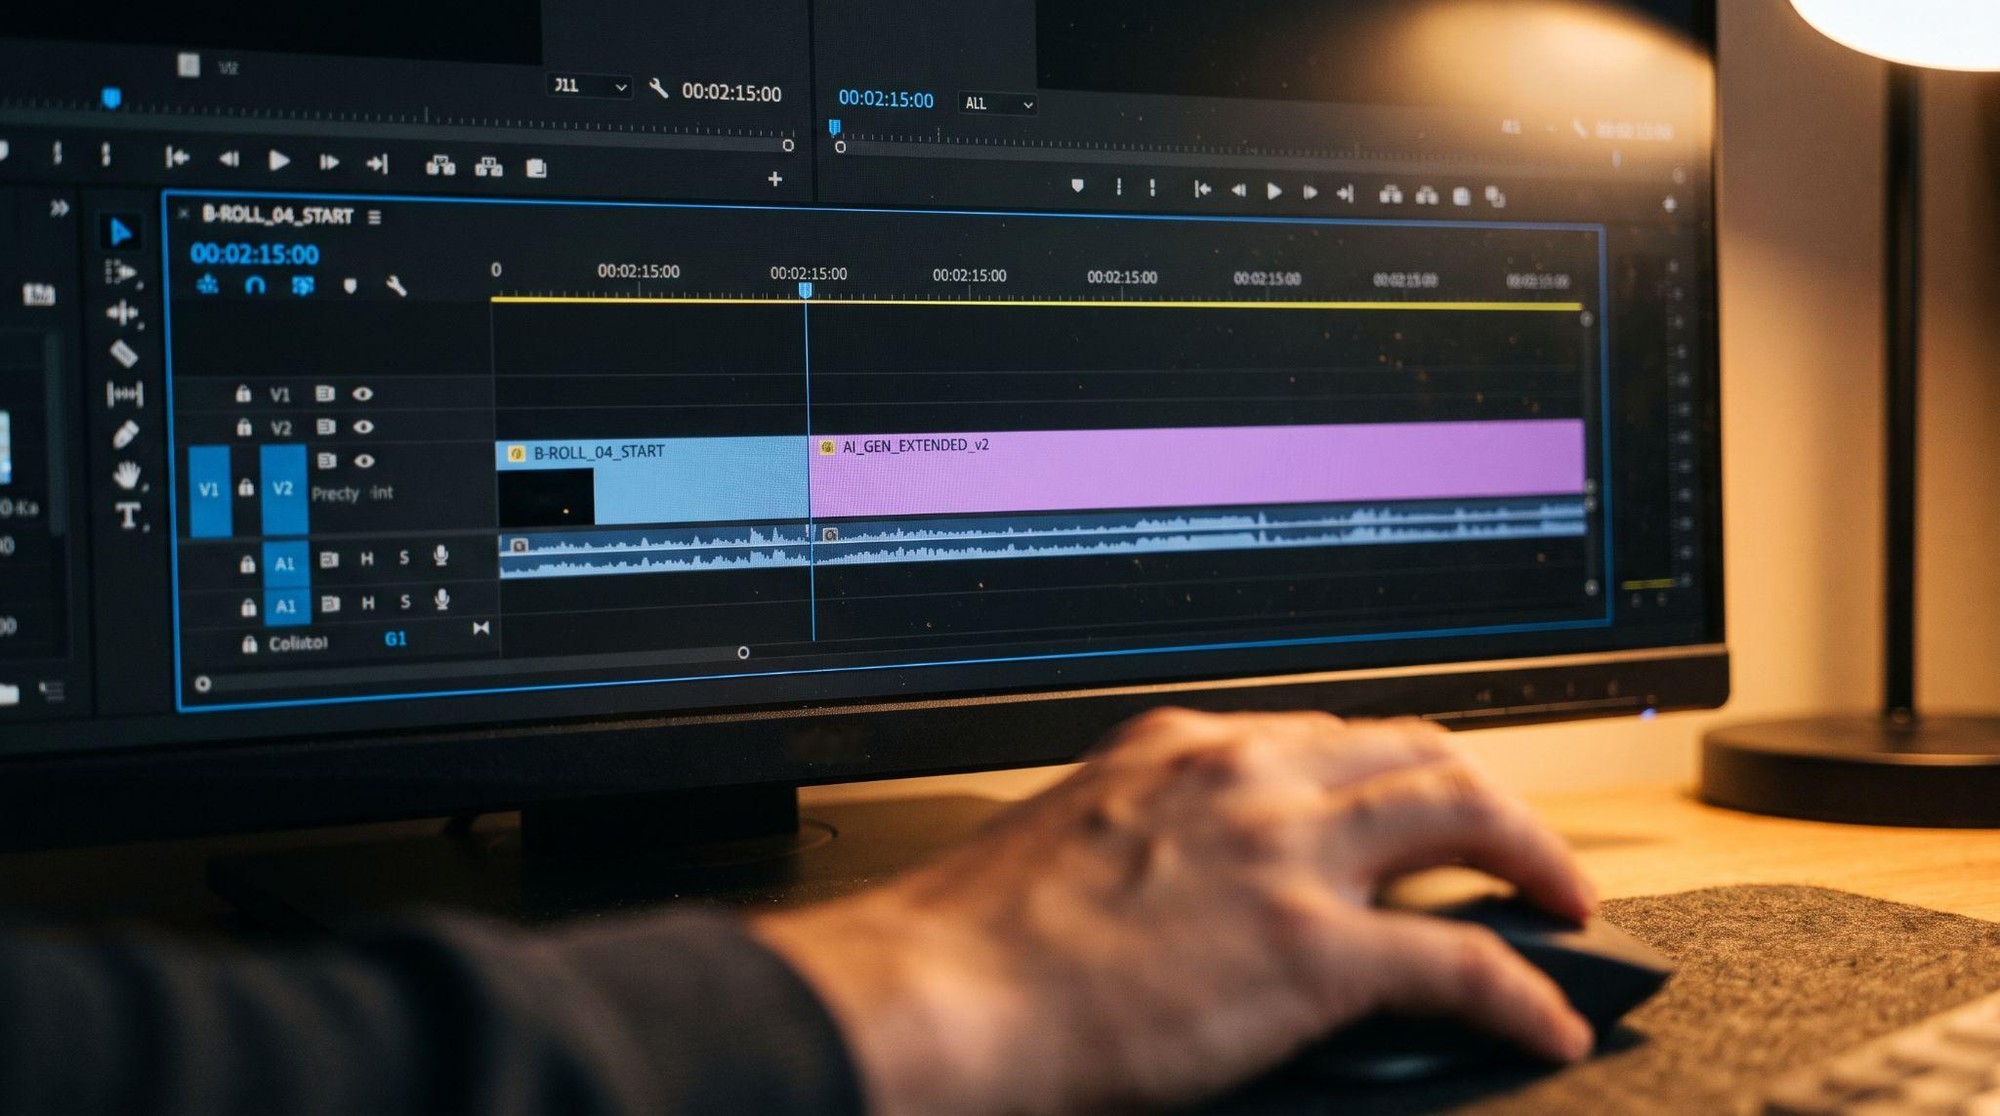
Once the extension finishes, place it directly after the original on your timeline. Afterward, scrub slowly across the joint.
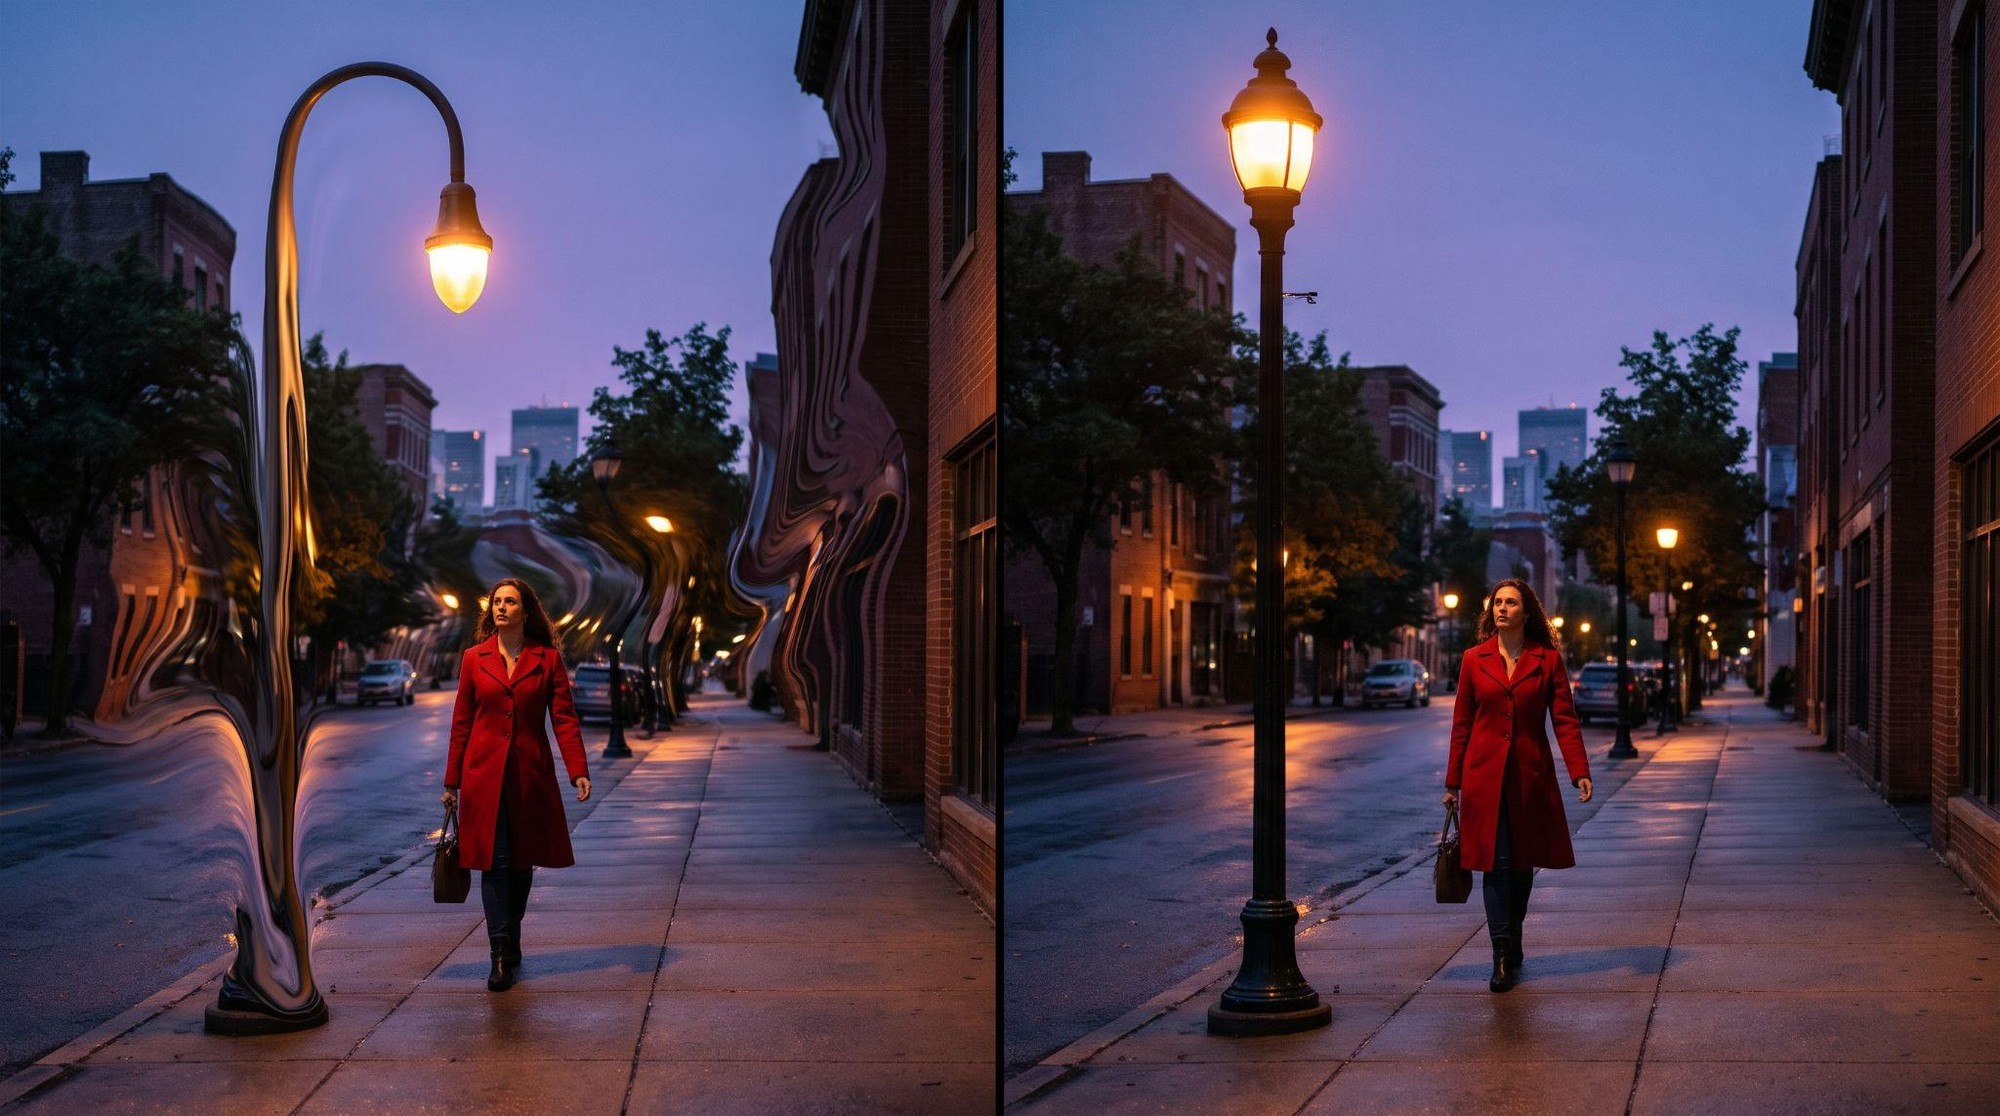
Look for sudden color shifts, jumps in position, or objects that melt and morph. Faces, hands, and background details deserve extra attention.
If something breaks, generate a new version or trim the extension before the flaw appears. Generally, the frames closest to the original look the most convincing.
Step 5: Blend the New Footage Into Your Edit
Small differences disappear when you hide them well. For example, cut on motion or place a sound effect right at the join.
Then apply a light grade so the new frames match the original tone. Also, extend your ambient audio or music across the extra time.
Next, export at the same frame rate and resolution as your source footage. Finally, watch the result on a phone, since many viewers will see it there.
Tips for Natural-Looking AI Video Extensions
A few simple habits separate convincing extensions from obvious ones.
- Extend in short rounds. Rather than requesting one long jump, add a few seconds at a time and review each pass.
- Keep the camera simple. Locked-off shots and slow pans extend far more cleanly than shaky handheld footage.
- Match the original pace. A slow, dreamy shot should stay slow, so avoid prompts that suddenly speed things up.
- Plan vertical framing early. When you create vertical feeds, keep the subject inside the safe area from the start.
- Leave a little headroom. Generate slightly more footage than you need, so you can trim to the cleanest section.
- Let sound do the selling. Viewers forgive tiny visual shifts when the audio flows without a break.
- Save every version. Keep your original clip and each generation, so you can always roll back.
Common Mistakes That Make Extended Clips Look Fake
Even good tools produce weak results when the setup goes wrong. Watch out for these common slip-ups.
- Adding time without a purpose. Extra seconds with nothing happening feel like padding, so viewers scroll away.
- Starting from a messy final frame. Blur, cut-off subjects, or sudden flashes at the end confuse the model.
- Asking for too much change. Prompts that add new people or places usually break continuity.
- Trusting the first result. AI output varies between runs, so generate two or three versions and keep the cleanest.
- Skipping the seam check. A quick scrub across the join catches most problems before your audience does.
Final Thoughts on Making Short Clips Longer With AI
Extending video with AI no longer demands a big budget or advanced editing skills. Instead, it rewards careful clip selection, clear prompts, and a sharp eye for detail. After all, generated frames are still footage, so they deserve the same scrutiny as anything you shot.
Start with one simple shot and extend it by a few seconds. Then study the seam, refine your approach, and build from there. Soon, those near-perfect shots will finally earn their place in your edits.


