
GPT Image 2 transparent background support is available in preview in OpenAI’s API, according to OpenAI’s image generation documentation checked on September 30, 2026. The relevant request uses a transparent background setting and a PNG or WebP output. Advice written before that support arrived may describe a different situation.
Even with a supported request, inspect the downloaded result. A preview that looks transparent can contain a painted checkerboard, while a file with a white background might simply be displayed on a white canvas. Appearance alone doesn’t settle what the file contains.
Request a GPT Image 2 transparent background through a supported route
When using GPT Image 2, distinguish the image model from the application or API service around it. The developer’s reference describes the direct API. A separate service may expose different controls, and a browser interface may handle downloads differently. Confirm the output options for the route being used.
On the documented direct API, the settings are a background value of “transparent” and an output format of PNG or WebP. The reference explicitly identifies support for gpt-image-2 as preview functionality. A natural-language instruction to make the background transparent is not a substitute for setting a supported output option where one is available. Later models in the same family, such as GPT Image 2.5, have moved transparent backgrounds out of preview, so the exact version in use determines what the endpoint will accept.
The prompt still needs to describe the subject. For a reusable illustration, give it a clear silhouette and enough space around its edges. Ask for the object itself, rather than a photograph of a poster containing that object. A frame, floor or display card can become part of the generated scene and complicate later compositing.
Here is an illustrative brief for a simple asset:
A single blue enamel watering can, viewed from a slight three-quarter angle, with the entire handle and spout visible. Clean painted illustration, restrained highlights, no lettering, no surrounding scenery. Leave space around the complete silhouette.
The transparent output setting handles the requested background format. The brief describes the content. Keeping those roles separate makes it easier to diagnose a failed result: an incorrect object and an opaque export are different problems.
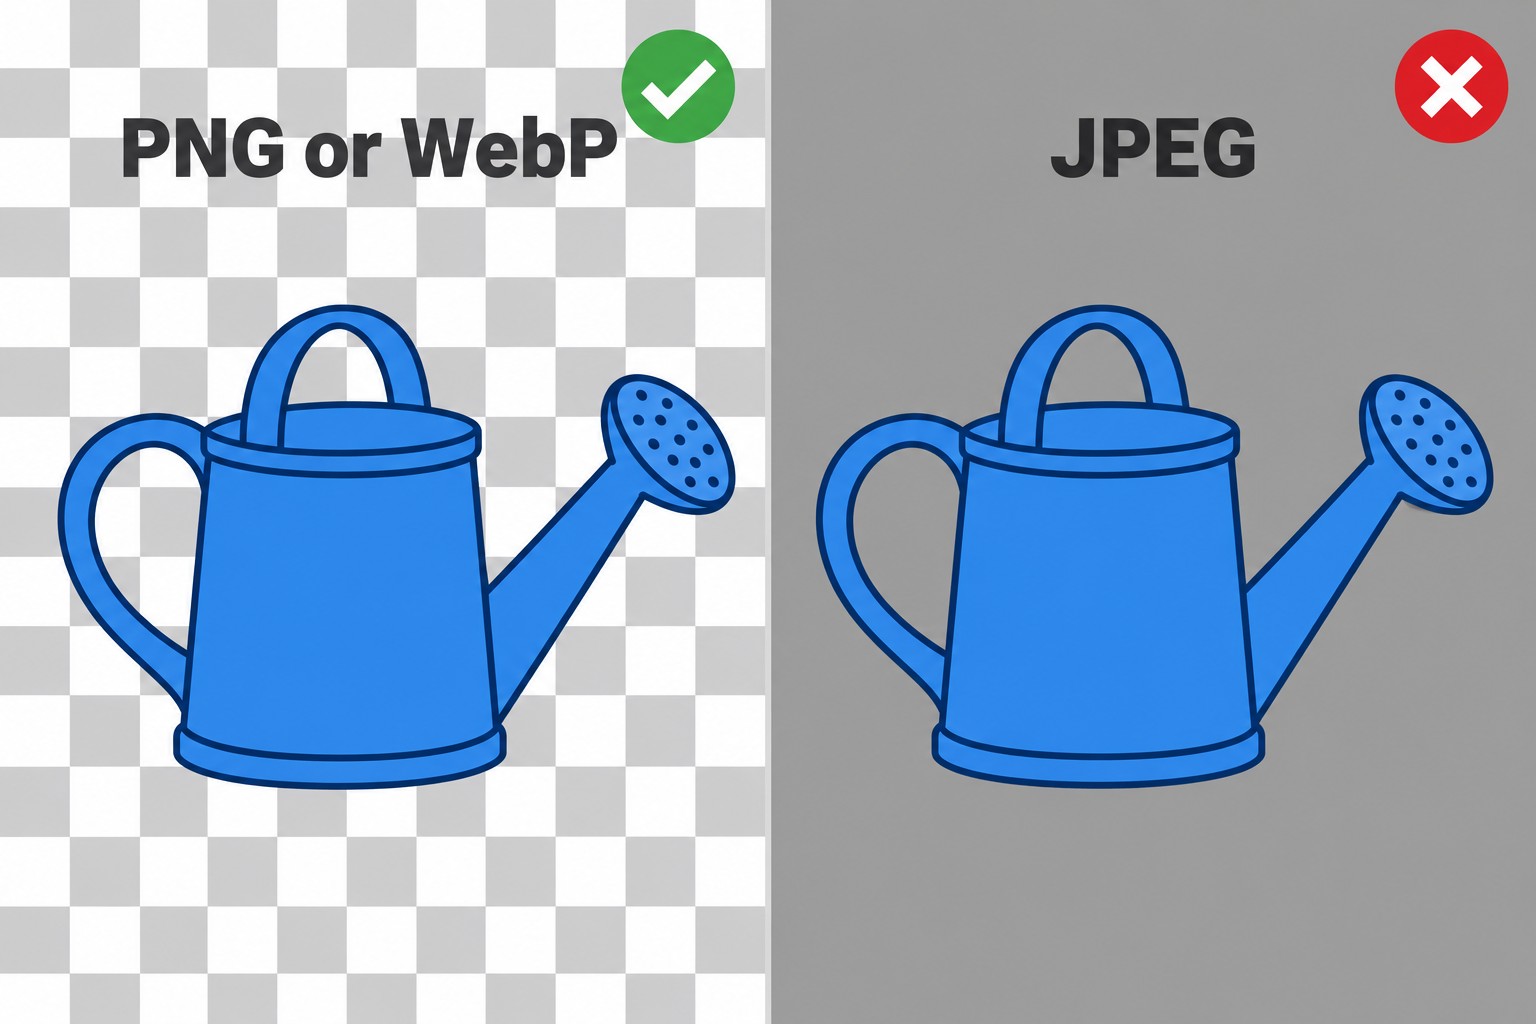
Use a format that can carry transparency through the rest of the workflow. PNG supports alpha information, which describes opacity; WebP can also support transparency. A later export to JPEG will not preserve that alpha channel. Renaming the extension cannot restore information that was discarded.
Be careful with screenshots. A screenshot records the appearance of the preview against its current canvas. Download the generated asset through the application’s export function instead, then inspect that file in an editor that shows layers and transparency.

Test the file against a background it has never seen
The quickest practical check is to place the asset over a solid colour. Change that colour. Areas that are transparent will reveal the new background. A checkerboard baked into the image will remain a checkerboard; it will not respond to the layer underneath.
Use both a light and a dark background during inspection. Pale edges can disappear on white and become obvious on charcoal. Dark remnants may show the reverse behaviour. A saturated colour can make missed patches easier to spot, especially inside a handle or between fine branches.
Look inside the shape as well as around it. For the watering-can example, the opening inside the handle should reveal the new background if it is meant to be an empty space. A clean outer silhouette can still conceal an opaque patch in that opening.
Transparency is not always a simple cutout. Hair, glass, smoke and soft shadows can involve partial opacity. Removing every partly transparent pixel may destroy the edge detail you wanted to preserve. Judge these areas in the intended composition, where the background and scale affect how they read.
The same file check is useful for assets made with Nano Banana Pro or any other image editor. It does not assume that all tools offer the same native transparency controls. It asks whether the exported asset has the properties needed for its intended use.
If the result is fully opaque, first confirm that the request reached a route supporting the selected option. Save the model name, setting and original download while investigating. Repeatedly changing the descriptive prompt may waste time if an export format or unsupported control caused the failure.
Background removal is another possible step when native output is unsuitable. It introduces a separate editing operation, so inspect its effect on fine edges and internal openings. For a simple solid object, cleanup may be manageable. A translucent object can require more careful compositing.
Avoid judging the result only at extreme magnification. Examine the edges close up to find defects, then return to the size at which the asset will be displayed. A tiny flaw can be irrelevant at that scale, while a broad pale halo may remain conspicuous around the entire object.
Keep an original export and a working copy. If several rounds of cleanup make the edge worse, the original lets you restart without generating a new subject. Record which version was finally placed in the page or presentation so later substitutions do not reintroduce the opaque background.
For a GPT Image 2 transparent background, the decisive test is straightforward: place the exported asset over a different surface and inspect what shows through. The preview is a useful starting point. The file that survives that test is the one ready to reuse.


