
Spills are just part of life at home, and no two are quite alike. A splash of juice on the kitchen floor calls for a different response than a cleaning chemical tipped over in the bathroom or a burst pipe soaking straight through the carpet. The tricky part isn’t really the mopping up—it’s figuring out exactly what you’re dealing with, matching your method to both the substance and the surface, and sidestepping secondary problems like slips, stains, fumes, or electrical hazards. In some situations, a wet & dry vacuum can be a practical option for picking up liquids or debris, though any equipment should always be used strictly according to the manufacturer’s instructions. This guide lays out a simple framework for handling almost any spill: assess it, protect people and surfaces, remove the substance, clean and disinfect where appropriate, then dry and inspect the area thoroughly.
Assess the Spill Before Cleaning
Before you grab a towel or reach for a cleaner, take a second to figure out what’s actually on the floor. Water and other clean liquids behave nothing like food, grease, or sugary drinks, which tend to leave sticky residue behind and can attract pests if ignored. Mud and tracked-in debris need different tools than a chemical spill, bodily fluid, or some unidentified substance that might pose a health risk. What you’re cleaning up determines which products, protective gear, and disposal methods make sense.
The surface matters just as much as the substance. Hardwood and laminate are easily damaged by moisture, while tile, vinyl, and sealed stone can handle liquids with far less drama. Carpet and upholstery soak up spills deeply, and electronics or unfinished wood demand extra care. When in doubt, check the manufacturer’s care instructions before applying water or chemical cleaners to a surface you’re unsure about.
Safety comes before anything else. Keep kids and pets well away from the area, and treat any standing liquid as a slip hazard until proven otherwise. If electrical equipment is nearby, only unplug it if you can do so safely—never touch electrical devices while standing in water. And if the spill is unknown, toxic, corrosive, or simply too large to manage comfortably, it’s time to call in a qualified professional or local authority rather than trying to handle it solo.
Choose the Appropriate Cleanup Method
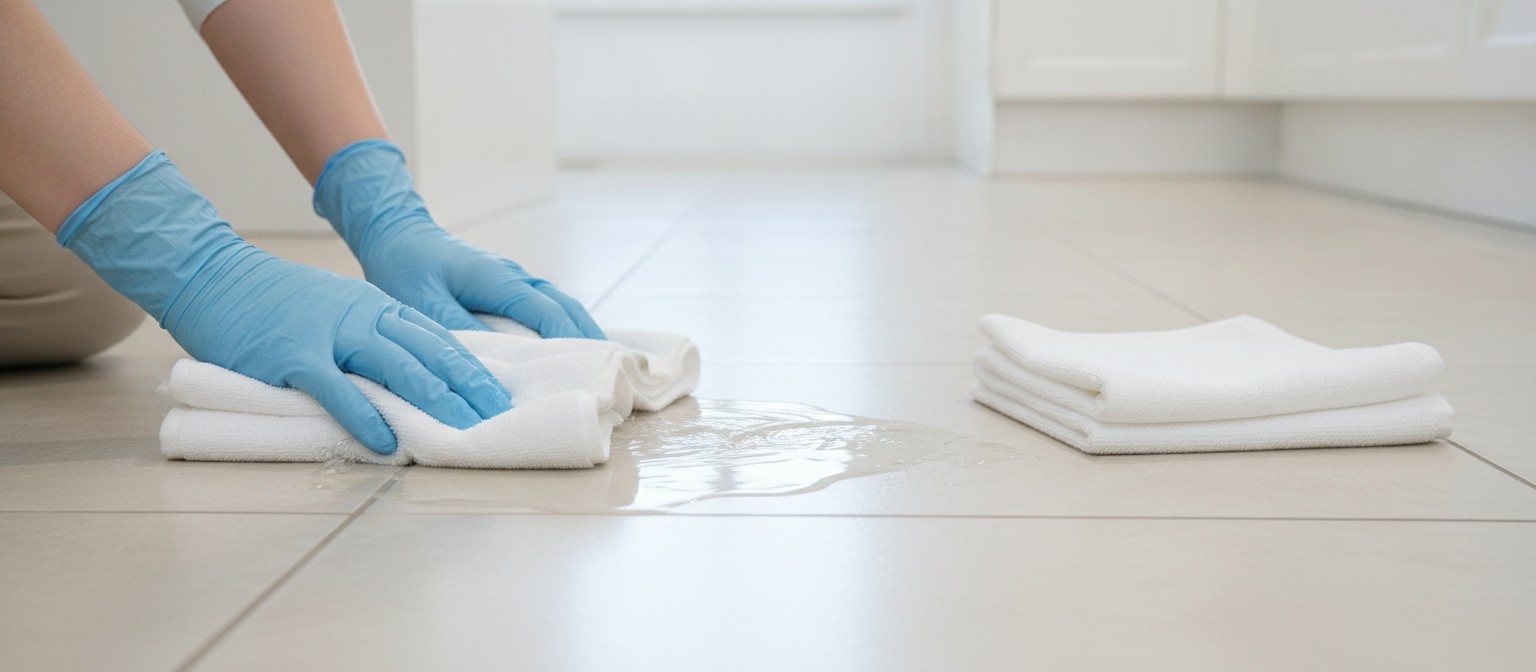
For small, everyday liquid spills, absorbent towels or cloths usually get the job done. Blot porous surfaces rather than rubbing them—rubbing tends to spread the liquid around and push it deeper into fibers instead of lifting it out. Swap out saturated towels quickly so you’re not just redistributing the mess across a dry area.
When you’re facing a larger volume of clean water or debris, a liquid-capable cleaning appliance, such as a wet & dry vacuum, can cut down on the manual effort compared to towels alone. Before putting any appliance to work this way, confirm it’s actually built for liquid pickup, check which surfaces it’s rated for, and see whether special attachments or settings are needed. Just as important: follow the instructions for emptying and maintaining the tank, filters, and accessories afterward. Skip that step and you risk lingering odors or damaged equipment down the line.
Chemical spills and potentially contaminated materials call for a more careful approach. Don’t reach for ordinary household equipment unless its instructions explicitly say it’s fine for that kind of job. Check the product label, safety data sheet, or relevant professional guidance, and use gloves, eye protection, and ventilation as the situation calls for. Never mix cleaning products unless the label specifically tells you to—combining the wrong chemicals can release genuinely dangerous vapors.
Choosing the right method at a glance: towels work for small, clean liquid spills; a compatible appliance can help with larger volumes of water or debris; professional assistance is appropriate for extensive or unclear situations; and hazardous-material guidance should be followed for chemicals or contamination.
Clean the Surface After Removing the Spill
Cleaning and disinfecting aren’t the same thing, even though people often use the words interchangeably. Cleaning removes dirt and organic material, while disinfecting targets microorganisms. Visibly dirty surfaces should generally be cleaned first and disinfected second, since leftover soil can blunt a disinfectant’s effectiveness. And routine disinfection isn’t necessary for every spill—it matters more when someone’s ill, contamination is suspected, or the product instructions specifically call for it.
Whatever product you reach for, follow the label closely: dilution, application method, required contact time, surface compatibility, and protective equipment all matter. Keep the area ventilated when using anything that might release fumes, and never combine bleach with other cleaners or disinfectants. Store products in their original, clearly labeled containers, and keep them well away from children and pets.
Match your method to the material. Mild soap and water works fine on sealed hard surfaces, but excessive moisture should be kept away from wood, laminate seams, unsealed stone, and electronics. Test unfamiliar products on a small, inconspicuous spot first, and lean on specific care instructions for upholstery, flooring, and appliances rather than generic advice that may not apply.
Dry the Area and Prevent Secondary Damage
Once the spill itself is cleaned up, work on removing any remaining moisture with absorbent materials or an appropriate drying method, and open up airflow with ventilation or fans where it’s safe to do so. Check seams, edges, under furniture, and carpet padding—moisture that lingers in these spots can lead to odors, material damage, or microbial growth down the road. Avoid aiming heat at materials prone to warping or discoloration, and hold off on returning furniture or electrical equipment to the area until everything is completely dry.
Think about the difference between a spilled drink on a rug and a burst appliance hose on hard flooring. The rug may need extended drying time plus a look at the padding underneath, while the hard floor might appear dry within minutes but still needs a check for water that crept into seams or baseboards.
Common Spill-Cleanup Mistakes to Avoid
- Rubbing a porous stain instead of blotting it
- Using too much water on wood or laminate
- Disinfecting a dirty surface without cleaning it first
- Mixing bleach, vinegar, ammonia, or other household chemicals
- Using an appliance for liquid pickup without confirming it’s designed for that purpose
- Neglecting filters, tanks, hoses, or attachments after use
- Leaving a damp area unattended because the surface looks dry
- Assuming a pleasant scent means a product is safe or effective
- Failing to ventilate during chemical use
When DIY Cleanup Is Not Enough
Some situations are simply better left to professionals: unknown, toxic, corrosive, or combustible substances; sewage, extensive mold, or significant bodily-fluid contamination; water that’s reached electrical systems or concealed building materials; a large area that stays damp no matter what you try; or persistent odors, staining, or swelling that won’t go away. When the damage is serious, document it with photos for landlords, insurers, or contractors, and lean on public-health and environmental-health guidance, along with manufacturer instructions, for specifics on ventilation, chemical safety, and equipment limitations.
A Practical Spill-Cleanup Checklist
- Keep people and pets away
- Identify the substance and surface
- Remove nearby hazards if safe
- Select a compatible cleanup method
- Absorb, collect, or extract the spill without spreading it
- Clean the surface
- Disinfect only when appropriate
- Dry the area thoroughly
- Clean and store equipment safely
- Escalate hazardous or extensive situations
Key takeaway: The safest cleanup method is determined by the substance, the surface, and the level of contamination—not simply by the size of the spill.

Clean Up Confidently Without Creating New Risks
Successful spill cleanup goes well beyond just mopping up what’s visible. It means identifying what you’re actually dealing with, protecting both people and surfaces, using tools and products that are actually suited to the job, cleaning before disinfecting when that matters, ventilating and drying thoroughly, and knowing when it’s time to call in a professional. It’s worth putting together a small, accessible spill-response kit—absorbent cloths, gloves, a surface-appropriate cleaner, basic instructions, and drying supplies—so you’re ready to handle the next spill calmly and safely whenever it happens.

